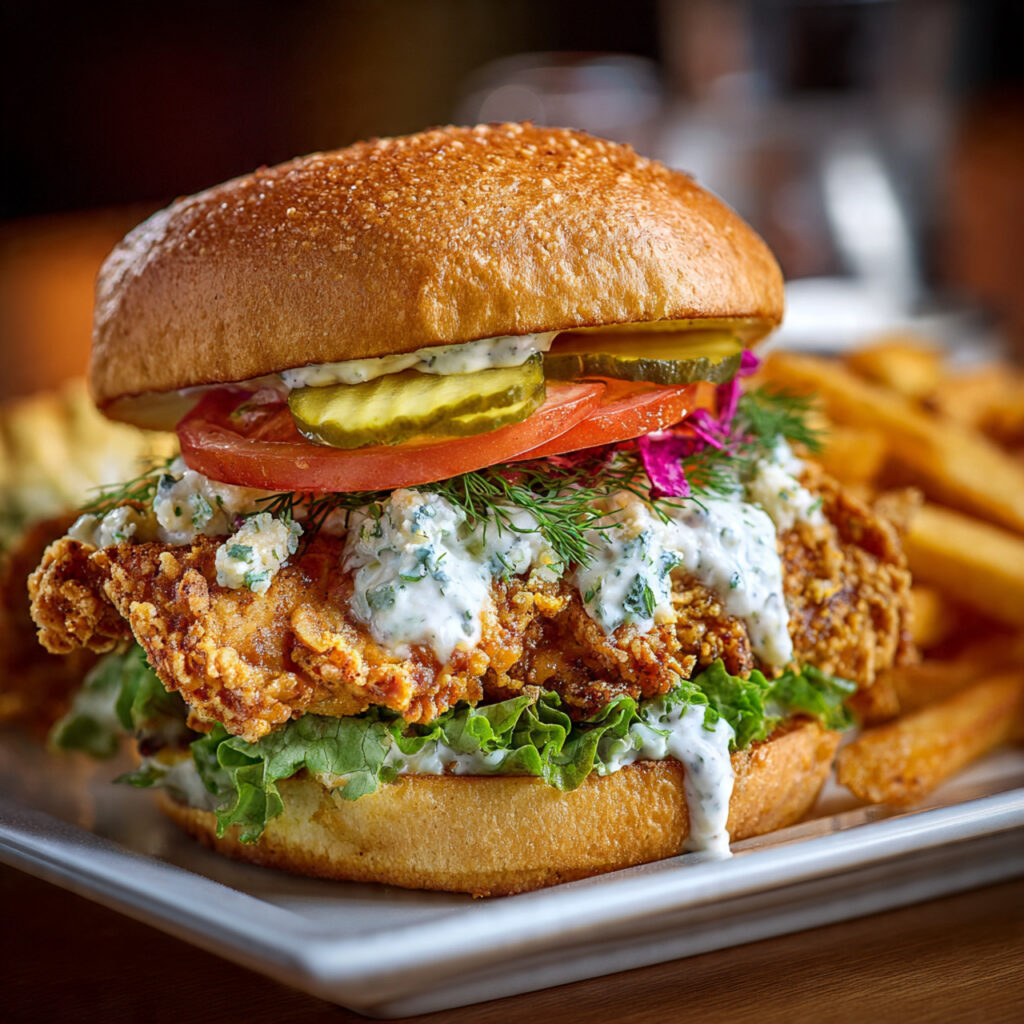
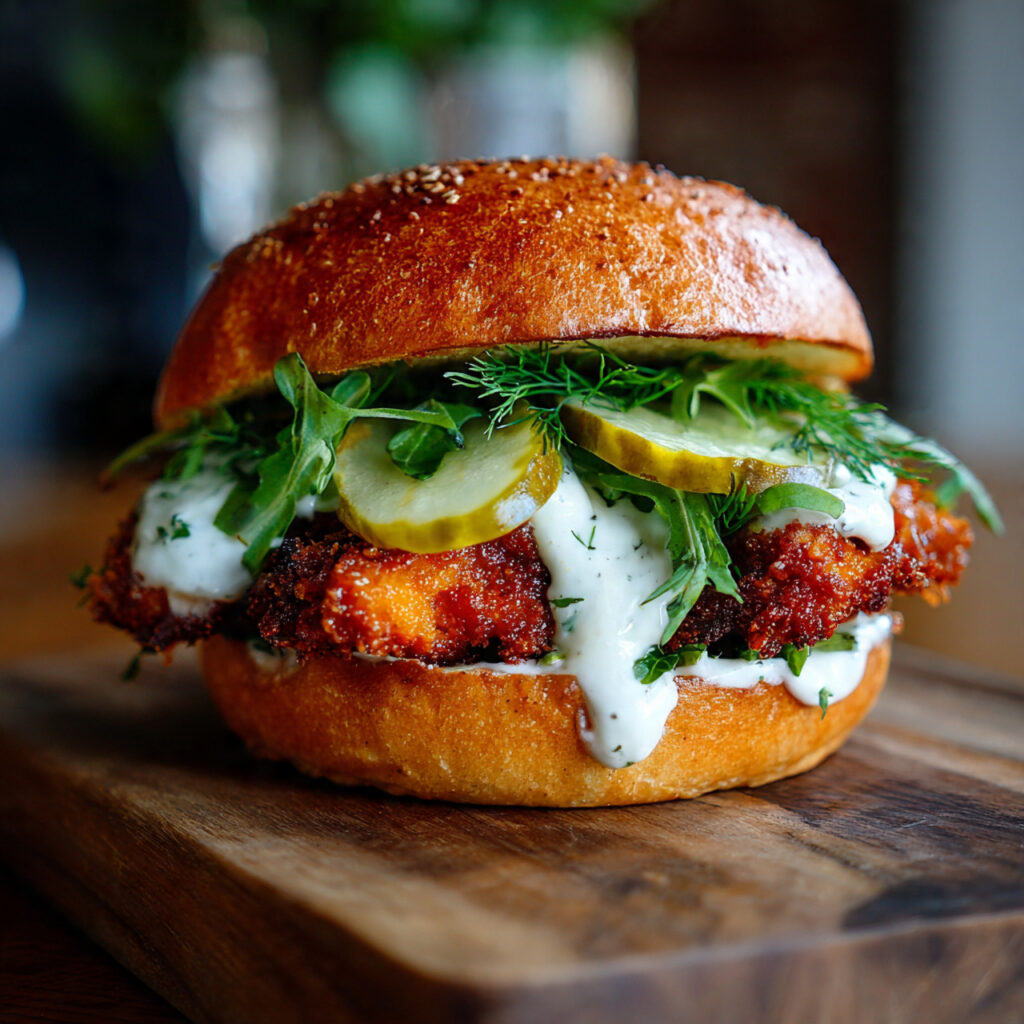
Have you ever bitten into a chicken sandwich so crispy, juicy and flavorful that you couldn’t stop thinking about it? That’s precisely how I felt after chomping on my homemade Crispy Dill Chicken Sandwich!
I remember trying different marinades and coatings until I got the right amount of crunch and dill zing.
If you want that restaurant-style sandwich, but can “stay put” in your kitchen – this recipe is for you. I’ve tried it multiple times as a guarantee for its ease and success.
Don’t forget to save this pin for later! I’ve also included the best equipment tips below to make your cooking easier.
Ingredients
Why You’ll Love This Recipe
This crispy chicken sandwich is crunchy, juicy, and packed with flavor. It’s easy to make, customizable, and tastes even better than takeout. Plus, the dill adds a unique twist that makes every bite refreshing and delicious.
Equipment Needed
Instructions
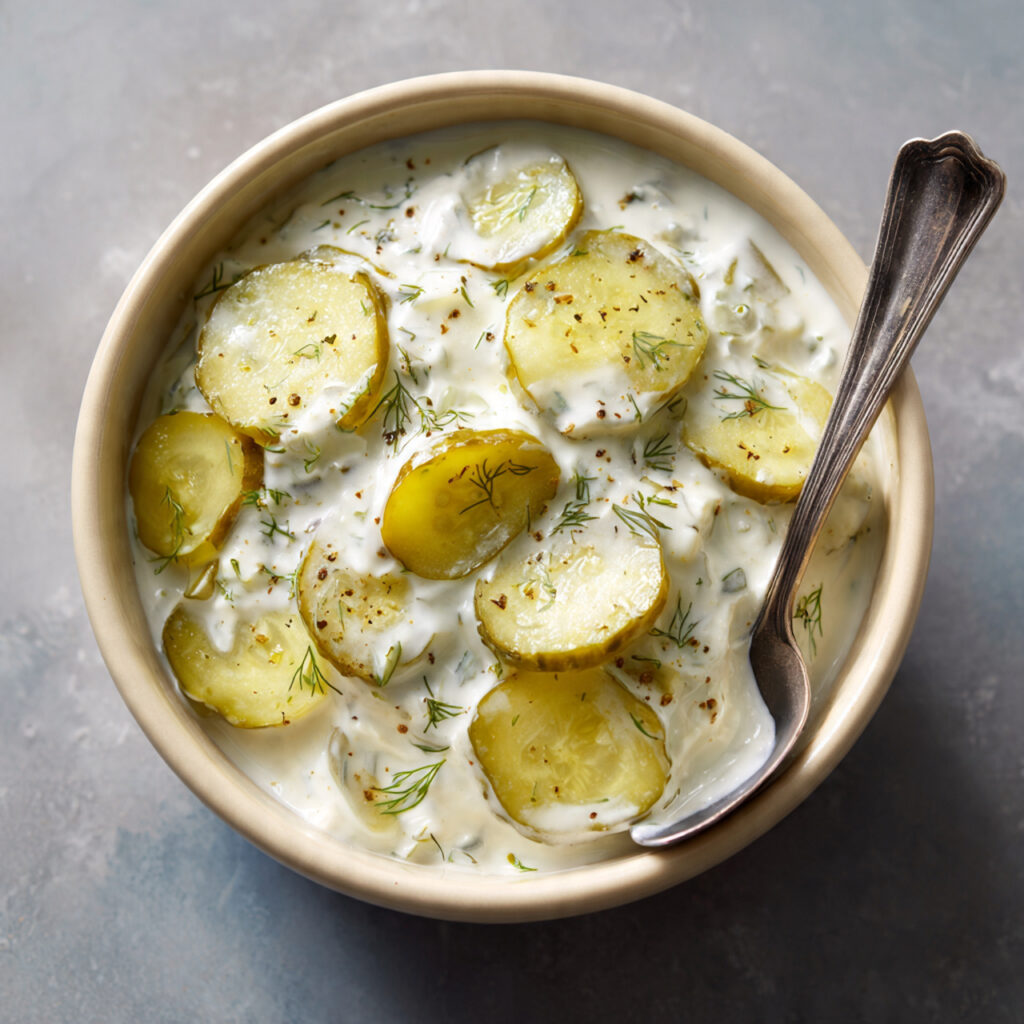
Step 1: Make the Dill Pickle Ranch Sauce
In a small bowl, combine ranch seasoning, Greek yogurt (or sour cream), dried dill, sliced pickles, and pickle juice. Mix until smooth and well blended.
Cover and refrigerate for at least 30 minutes to allow the flavors to develop. (You can use it immediately if needed, but chilling enhances the taste.)
Store any leftovers in an airtight container in the refrigerator for up to 4–5 days.
Step 2: Prepare the Chicken
Pat the chicken breasts dry with paper towels. If needed, pound them to an even thickness of about ½ inch for even cooking. Cut into smaller pieces if necessary to fit your buns.
Place a wire rack over a baking sheet and set aside.
Step 3: Set Up Breading Station
Prepare three shallow bowls:
- First bowl: mix flour and dried dill
- Second bowl: whisk together egg and milk
- Third bowl: add panko breadcrumbs
Dip each piece of chicken into the flour mixture, coating fully and shaking off excess.
Next, dip into the egg mixture, then coat thoroughly with panko breadcrumbs, pressing gently to adhere. Set aside and repeat with remaining chicken.

Step 4: Cook the Chicken
To Fry:
Heat about ½ cup vegetable oil in a skillet over medium-high heat.
Carefully add the chicken and cook for 3–4 minutes per side, until golden brown and fully cooked.
Transfer to the prepared wire rack.
To Bake:
Preheat oven to 400°F (200°C). Line a baking sheet with foil and place a rack on top. Spray with nonstick spray.
Arrange chicken on the rack and bake for 15–20 minutes, flipping halfway through.
For extra crispiness, broil for a couple of minutes or lightly spray with butter-flavored cooking spray before baking.
Step 5: Rest the Chicken
Allow the cooked chicken to rest for a few minutes before assembling the sandwiches.
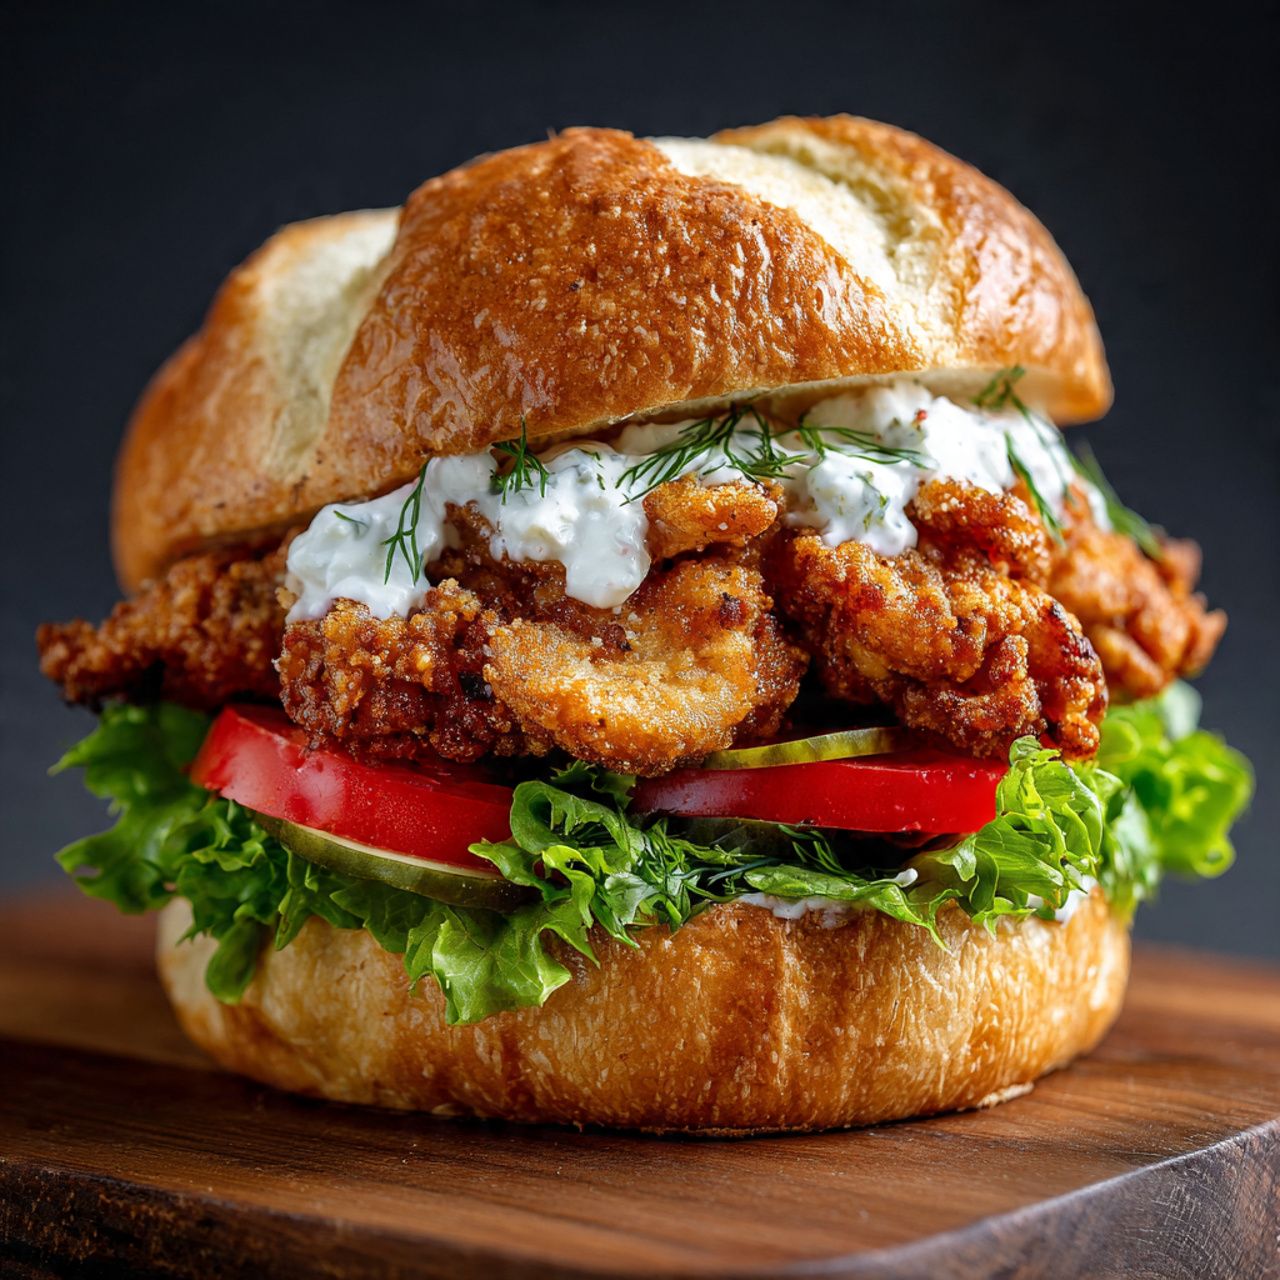
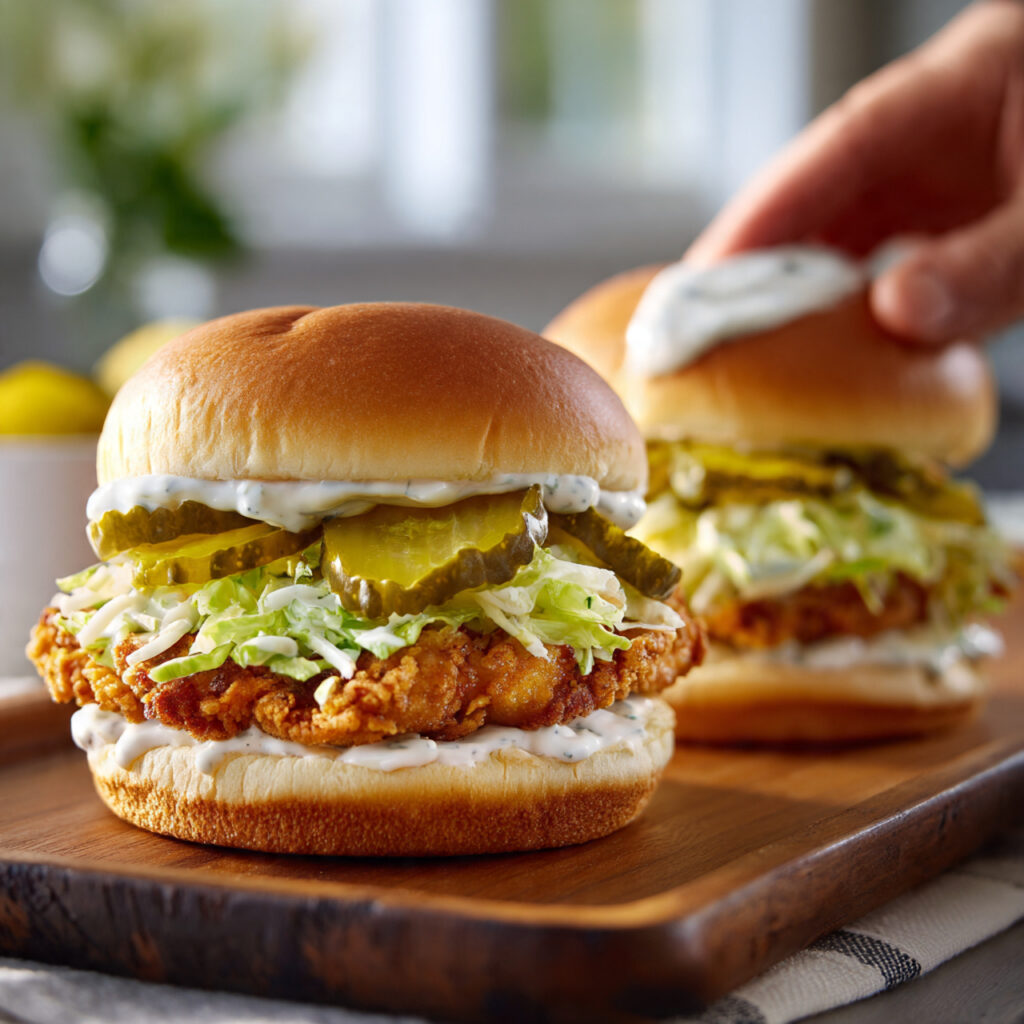
Step 6: Assemble the Sandwich
Warm the sandwich buns in the microwave or under the broiler.
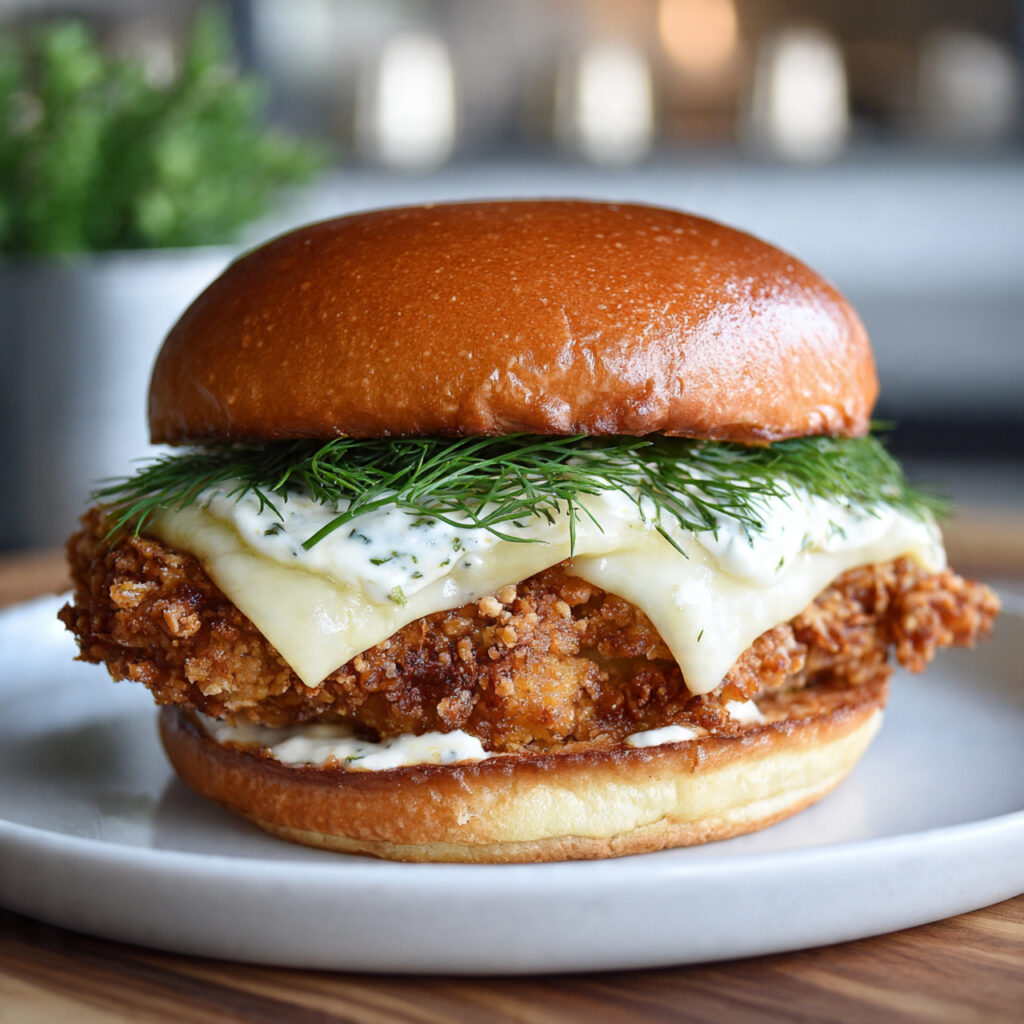
Spread a tablespoon of the dill pickle ranch sauce on the bottom bun.
Add crispy chicken, shredded lettuce, and sliced pickles.
Spread more sauce on the top bun, then place it over the sandwich.
Step 7: Serve
Serve immediately while warm and crispy. Enjoy your flavorful, crunchy sandwich!
Tips to Make It Easy
Whenever I make this Crispy Dill Chicken Sandwich, I like to marinate the chicken ahead of time—it saves so much effort later on, plus it really amps up the flavor!
I like to have all my coating ingredients ready to go before I start frying so that it’s smooth sailing! Use medium heat so the coating is golden and cooked through without burning.
If you’re new to frying, you don’t want to pack the pan too tightly, just fry it in batches! I’ve learned that when everything is organized, things go so much easier.
Once you make it this way, you’ll see how easy and delicious it is!
Common Mistakes to Avoid
In my experience, there are a couple of small mistakes that can ruin your crispy dill chicken sandwich.
Frying at too high of a heat will scorch the coating before the inside gets fully cooked. Skip marinating and your chicken will lack the juicy flavor you desire.
Toss your chicken into the oil when it’s too cool and your coating will turn soft instead of crispy. Avoiding all of these will get you to the perfect crunch and flavorful bites time after time.
How to Store It
I actually store the leftover chicken apart from the buns to keep everything fresh! The cooked chicken can be kept in the fridge in an airtight container for up to 3 days.
Then you can reheat it in the oven or air fryer to bring back that crispy coating. Just don’t microwave it; that just makes it soft.
If you’ve already assembled your sandwich, you can still store that — just try to eat it fresh. Storing it properly means it still tastes delicious when you go back for her later.
Ways to Make It More Flavorful
If you want to take your crispy dill chicken sandwich to the next level, there are a few tricks I love using. You can spice up the marinade with a dash of hot sauce, or you can add a little bit of extra dill to accent that fresh taste.
Sometimes I like to sprinkle a bit of seasoning on the chicken just after it is fried, too. You can throw a slice of cheese on the hot chicken for the melty decadence, or add a flavored mayo (or even a garlic sauce) for an extra punch.
Variations
The best part about this crispy dill chicken sandwich? It’s super customizable! Want a spicy version? Add some chili powder or cayenne pepper hot sauce to the marinade!
A grilled version? Make it on the grill! Cheese loaded? Why not! A solid plant-based version? Enjoy a crispy tofu or meat substitute.
I personally love switching it up depending on my mood! Each takes this delicious recipe into a different territory!
Best Served With
I love serving this crispy chicken sandwich with just the classic sides we all associate with sandwiches. You can never go wrong with crispy fries, but the crunchy coleslaw is a perfect crunchy combo on the side.
This sandwich is great with a simple green salad as well! Drink wise, anything cold and refreshing like a nice lemonade or iced tea is perfect!
No matter if you are serving it for lunch or dinner, these combinations of sides make the meal!
FAQs
1. Can I bake instead of fry?
Yes, bake at 400°F for 25 minutes.
2. Can I use chicken thighs?
Absolutely, they’re juicier.
3. How do I keep it crispy?
Use a wire rack after frying.
4. Can I make it ahead?
Yes, marinate chicken overnight.
Conclusion
If you’re looking for a sandwich that’s crispy, juicy, and full of flavor, this Crispy Dill Chicken Sandwich is the one you need to try. I love how it transforms simple ingredients into something that feels special and satisfying.
The best part? You can customize it however you like. Whether you prefer it spicy, cheesy, or lighter, this recipe adapts to your taste.
Now it’s your turn—give it a try and enjoy the process. Cooking should be fun, and this recipe makes it exactly that. Don’t forget to save it, share it, and come back to it whenever you’re craving something truly delicious.